
| Section | Key Point | Estimated Read Time |
|---|---|---|
|
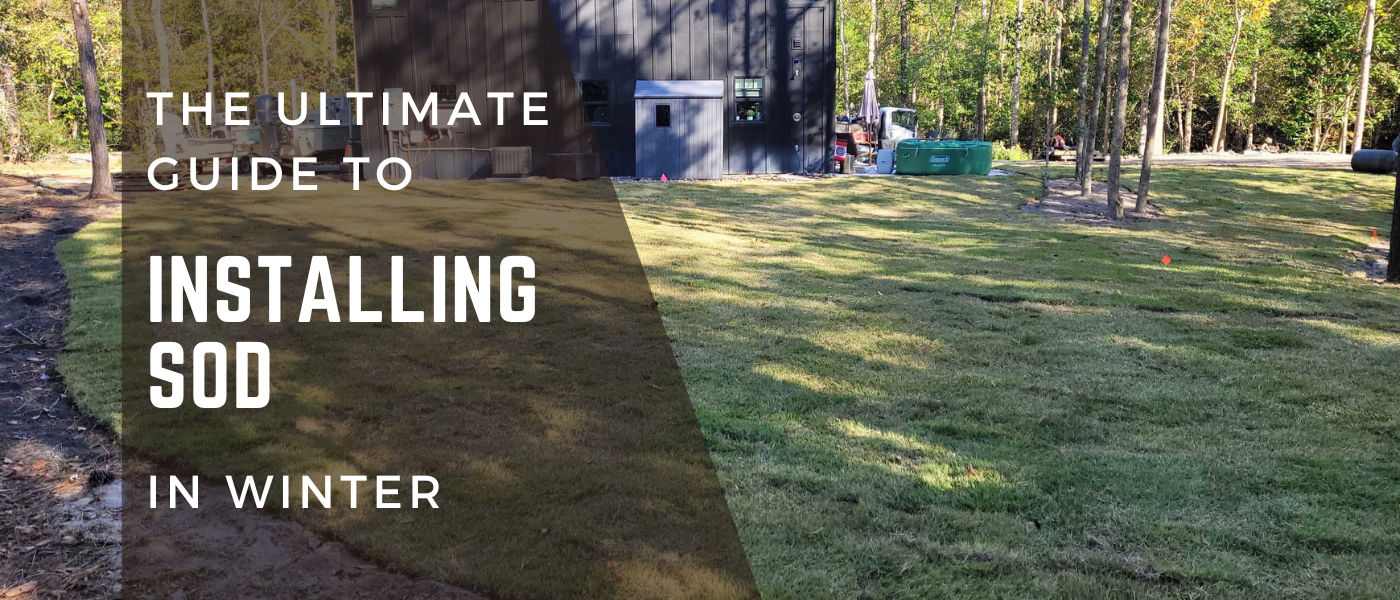
Why Install Sod in Winter
|
Advantages, ideal conditions, curb appeal, and growth benefits
|
2 minutes
|
|
Lawn Preparation
|
Soil prep, fertilization, herbicide application, sod bed creation
|
3 minutes
|
|
Installation Tips |
Step-by-step guide, best practices, root-to-soil contact
|
3 minutes
|
|
Winter Care for New Sod |
Watering needs, protection from elements, maintenance tips
|
2 minutes
|
|
Spring Follow-Up
|
Herbicide application, mowing, fertilization timing
|
2 minutes
|
|
Conclusion
|
Summary of benefits and best practices
|
1 minute
|
Why Install Sod in Winter
When it comes to enhancing your landscape, timing can be everything—especially when installing sod. Traditionally seen as a task for warmer months, installing sod in winter is a landscaping strategy that’s gaining ground. The dormant season, often overlooked, offers a suite of unique benefits that can lead to a healthier, more robust lawn. In this exploration of why winter is an ideal time for sod installation, we’ll delve into the distinct advantages that this cooler season brings.
Learn more about our Lawn and Landscape Maintenance Services.
Benefits of Winter Sod Installation
- Reduced Weed Competition: Cooler temperatures inhibit weed growth, giving your sod a clear advantage.
- Optimal Moisture Balance: Winter’s natural moisture reduces the need for extensive watering.
- Erosion Control: Sod acts as an immediate barrier against soil erosion during wet winter months.
- Curb Appeal: Instantly transform your landscape even in the coldest months.
Growth and Adaptation - Root Development: In winter, sod roots adapt and strengthen, preparing for spring growth.
- Acclimatization: Sod installed in winter adjusts to its new environment gradually, reducing transplant shock.
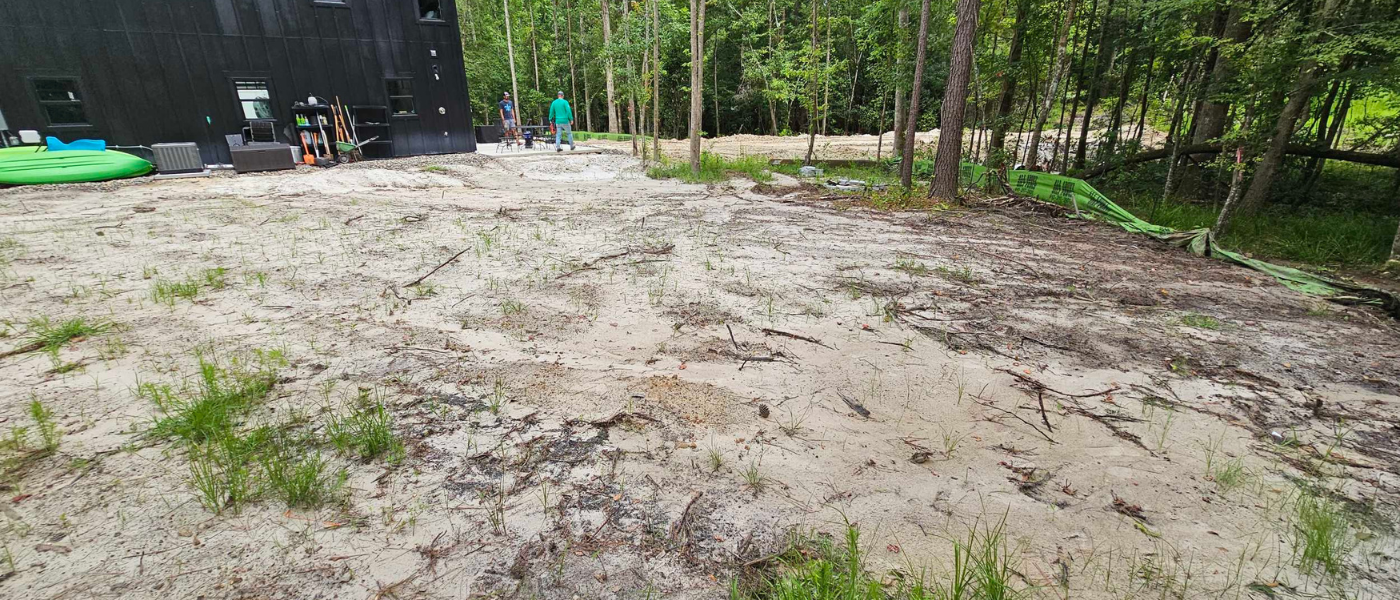
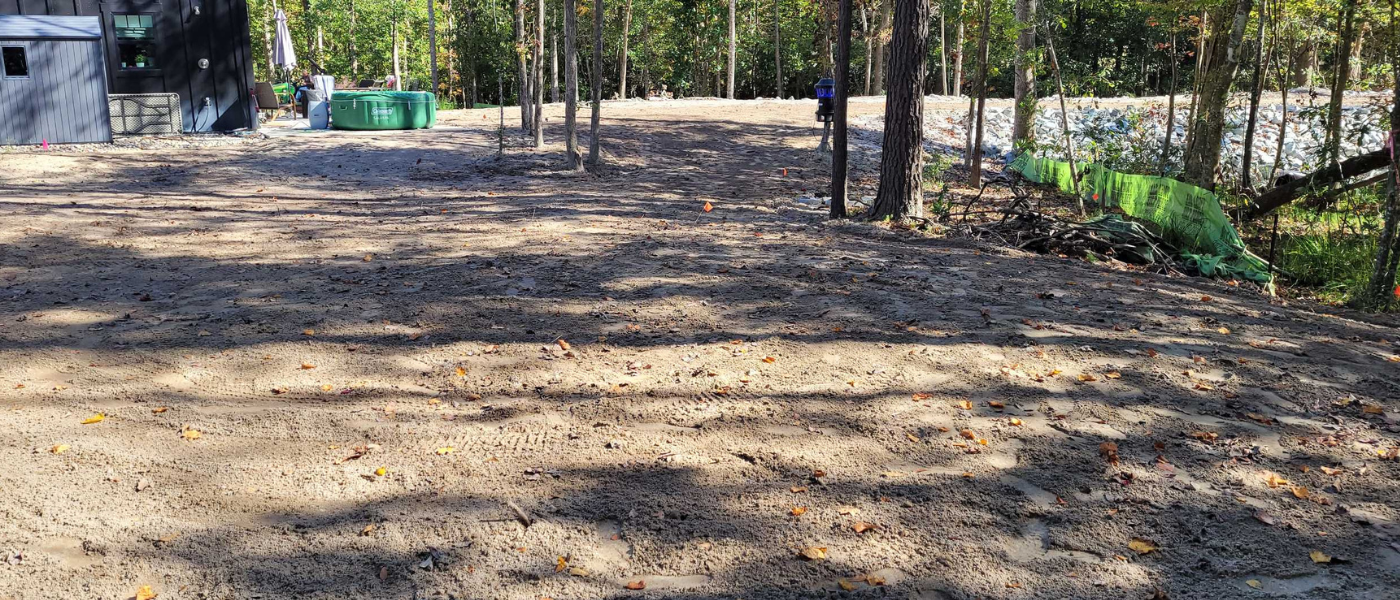
Lawn Preparation for Dormant Sod
Proper preparation is crucial for successful winter sod installation. This involves several key steps to ensure that the dormant sod has the best possible environment for root establishment and growth. By meticulously preparing the lawn, you create a welcoming environment for the dormant sod to thrive during winter, laying the groundwork for a lush, green lawn as the seasons change.
Discover our comprehensive Lawn Care Services.
Soil Preparation and Fertilization
- Test and Amend Soil: Ensure your soil has the right pH and nutrient balance.
- Clear and Level: Remove debris and level the ground for uniform sod placement.
- Starter Fertilizer: Use a high-potassium and low-nitrogen fertilizer to strengthen grass cell walls.
Learn about our specialized Lawn Fertilization Services.
Creating the Perfect Sod Bed
- Loose Soil Bed: Aim for 3/4” to 1” depth for optimal root insulation. Till and aerate the soil to achieve this. Or top dress the soil with topsoil.
- Good Root Contact: Ensure the sod has firm contact with the soil for better root establishment.
- Adequate drainage: it’s also essential to ensure that the area has adequate drainage to prevent waterlogging, which can be detrimental to sod health.
Installation Tips for Winter Sod
While installing sod in winter can bring numerous advantages, it also demands specific techniques and care to ensure its success. This section will provide essential tips and guidance, ensuring that your winter sod installation yields a robust and healthy lawn.
For professional assistance, check out our Sod Installation Service.
Step-by-Step Installation Guide
- Measure and Order: Get the right amount of sod for your area. In Wilmington, NC a pallet of sod will cover 450 sq. ft.
- Lay the Sod: Use whole pieces around the perimeter and all beds first. Then, fill in after you have laid the border. Start from a straight edge and lay the sod in a staggered pattern, much like laying bricks.
- Ensure Contact: Press the sod down to ensure good root-to-soil contact.
- Trim and Fit: Adjust sod pieces around edges and obstacles.
Best Practices
- Avoid Walking on New Sod: Keep foot traffic to a minimum to avoid dislodging.
- Roll the Sod: Use a roller to eliminate air pockets and improve contact.
Winter Care for Newly Installed Sod
Unlike other seasons, winter presents its own set of challenges and requirements for new sod care. From specific watering techniques to protecting the sod from harsh winter elements, this section offers valuable insights and recommendations to ensure your newly installed sod remains healthy and resilient throughout the winter season.
Watering Needs
- Initial Watering: Water thoroughly after installation.
- Regular Checks: Monitor moisture levels, especially during dry spells.
Protection from Elements - Wind Protection: Provide barriers if your area experiences strong winter winds.
Spring Follow-Up for Your Winter Sod
As winter transitions into spring, specific maintenance steps are crucial to ensure the health and robust growth of the sod. This part of the guide will provide insights into critical practices such as applying herbicides, the timing of the first mow, and the proper fertilization strategies to grow a lush lawn as the season changes.
Explore our Lawn Treatment options.
Post-Winter Maintenance
- Apply Pre-emergent Herbicide: Prevent spring and summer weed growth.
- First Mow: Mow when you notice new growth to tidy up the lawn.
Fertilization Timing
- Post-Frost Fertilization: Wait until all frost risk has passed before fertilizing.
- Nutrient Boost: Choose a balanced fertilizer to encourage vigorous spring growth.
Conclusion
Installing sod in the winter is an efficient, effective way to achieve a beautiful lawn. By following these guidelines, you can ensure that your winter sod installation is successful, leading to a lush, vibrant lawn in the spring. Remember, the key to a great lawn is preparation, proper installation, and consistent care, regardless of the season.
For all your lawn care needs, visit Vinedresser Lawn and Landscape.